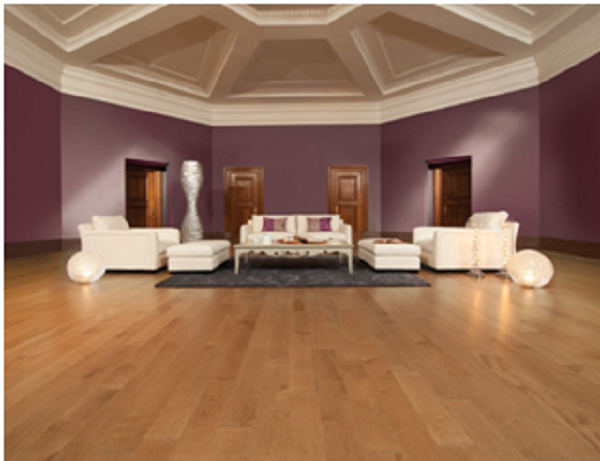
Wooden flooring is becoming increasingly popular because it looks good and is low-maintenance. It’s also an eco-friendly option because it’s a natural, sustainable and recyclable material.

The latest technology means that many wood floors have simple, snap-together systems that are easy to fit. Technology is advancing, too. In the future, your floor may even be able to generate electricity as you walk on it. Should you tackle laying wood flooring yourself? This task is actually something that any competent DIY enthusiast should easily be able to tackle themselves.
Type of floor
The first thing to consider before you opt for wood flooring from a supplier like
http://www.ukflooringdirect.co.uk/solid-wood-flooring is what type of floor it’s going to be laid on. In most cases, it will be either concrete or wood.
Concrete floors need to be in good condition and level. If yours is not level, you have the choice of getting it skimmed or laying a sub-base of ply or chipboard. Your wood flooring can then be glued on top. With wooden floorboards, your flooring will usually be nailed down. Again, you must ensure that the floor is level and in good condition before you start.
Starting work
Once you’ve bought your flooring, you need to leave it in the room where it will be used for a week or so to allow the timber to acclimatise. This will prevent any shrinkage after it’s laid. You can either remove the skirting boards and refit them later above the new floor or leave them in place and use a quadrant bead to cover the gap. Make sure your sub-floor is ready and give it a thorough vacuuming to make sure it’s clean.
You can now lay your first row of boards, starting in a corner. If they’re tongue-and-groove, ensure that the grooved edge is facing the wall. Cut the final board to fit the gap at the end of the row. You can use the piece you removed to start the next row, but make sure you stagger the joints.
To fit around pipes, mark the position and drill a hole, being sure to make it a little bigger than the pipe diameter to allow for movement. Make saw cuts to remove a piece of wood that you can slip part of back behind the pipe.