With so many TV programmes, internet blogs and websites devoted to interior design and beautiful houses, you may feel the need to update your décor or furniture to provide a little glamour and style to your home.

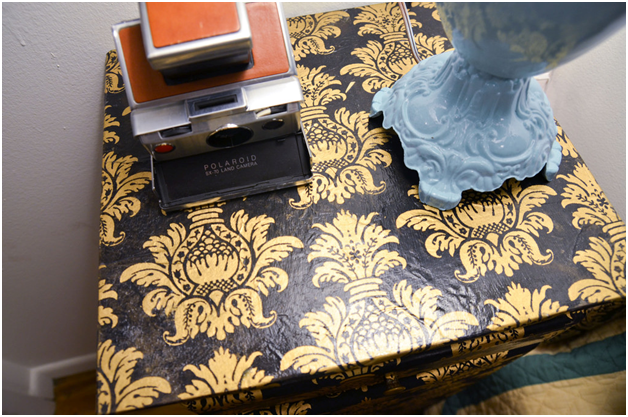
Rather than spending a fortune on a designer statement piece, try a simple way to rejuvenate your furniture and decoupage it. Meaning ‘to cut’ in French, decoupage is an interesting design technique that involves cutting out and sticking a collage of pictures on to an object.
This interesting technique is usually applied to items such as photo frames or tables to bring new life into them. It can, however, be used on a huge range of household items, from cast iron baths to mirrors and even plates, giving them a boost of contemporary style and colour.
Check out Wilsons Yard cast iron baths for inspiration from professional architectural salvagers. Refurbishing furniture can create fabulous pieces at a minimal cost.
The best part of decoupage is that you only need paper, sandpaper, glue and varnish. Of course, you will need some time too, but this thrifty option is an inexpensive way to produce unique and original pieces for your home.
Decoupage Materials
Start by gathering all the necessary materials.
• Glue is essential, and you can buy decoupage or craft glue for this purpose.
• Sandpaper can be used to remove any bumps from the surface of your item.
• Apply clear varnish or lacquer after the glue is completely dry for a clean, sleek look.
• Decide on the paper or fabric you wish to use for your design. This is hardest choice to make and can be derived from magazines, wrapping paper, photos, decoupage paper, wallpaper, postcards or fabric.
• The tools you require are some small sharp scissors, a sponge and a craft knife.
How to Decoupage
Clean your furniture and measure the dimensions you wish to cover. Cut out your material to the exact required size. Apply glue to the furniture surface and carefully stick your paper on. Smooth to ensure there are no wrinkles. Wipe excess glue away with a damp sponge, then leave to dry. Once it’s fully dry, apply varnish with a paint brush for durability. Leave to dry, then sand gently and repeat five to ten times for a durable and professional smooth finish.